
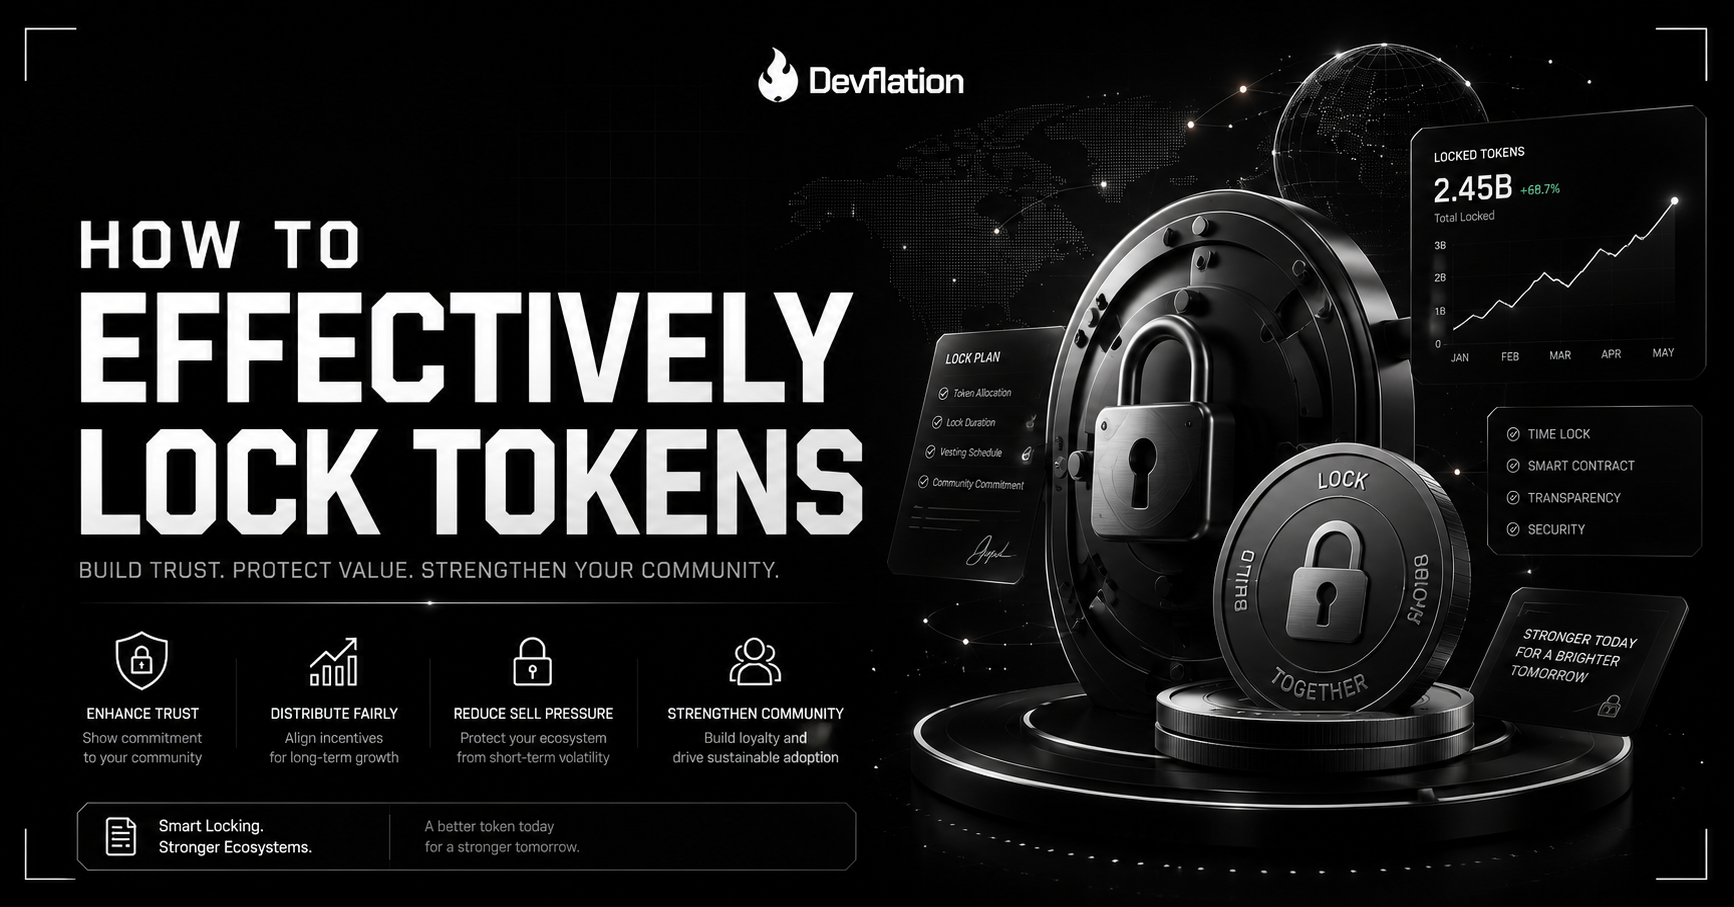
Token locking is an essential process for projects aiming to establish trust and transparency in the crypto space. This process involves temporarily restricting access to tokens, making them unavailable for trading or transfer for a defined period. By doing so, projects can prevent market manipulation and assure users that the team behind a project is genuinely committed to its long-term success. Recent data shows that over 70% of successful projects utilize token locking as part of their strategy. This guide will delve into the step-by-step process of locking tokens using Devflation’s tools, designed for both Solana and Ethereum Virtual Machine (EVM) networks. While the core concept remains the same, each platform offers unique user experiences and interfaces.
Why Lock Tokens?
For teams tracking locking tokens guide, the first question is usually what changed on-chain — not just what was announced.
Building Trust
Locking tokens is a visual commitment from project teams. When investors see that team members or developers cannot sell their tokens immediately after a launch, it instills confidence among stakeholders. For instance, a project that locked 80% of its tokens for three years witnessed a 50% increase in community investment within a month. This demonstrates that transparency promotes investor trust.
Preventing Market Manipulation
By controlling token supply, locking can help stabilize prices and prevent sudden drops that might occur due to panic selling. A notable example is the XYZ token, which experienced a 30% price drop right after its launch due to insider trading. After implementing a locking mechanism, the price stabilized over the next few months, allowing for a more gradual increase based on genuine market demand.
Legal Compliance
In some jurisdictions, locking tokens may be viewed as a required good practice or even a legal necessity for project teams to ensure adherence to guidelines regarding investor protections. In countries like the U.S. and Canada, regulatory bodies are increasingly scrutinizing projects without clear locking mechanisms, potentially leading to legal repercussions.
Step-by-Step Guide to Locking Tokens with Devflation
Locking tokens with Devflation is straightforward. Here, we break it down into manageable steps:
Step 1 — Access the Locking Dashboard
Head to the Devflation locking dashboard. The dashboard provides an intuitive interface for managing your token locking needs across multiple chains, making it easier to track and manage your assets.
Step 2 — Connect Your Wallet
To start the locking process, connect your wallet. Devflation supports both Solana and EVM-compatible wallets. Ensure you’re using the correct wallet version for the blockchain you are working with.
- For Solana users: Use a wallet like Phantom or Sollet, known for their user-friendly interfaces.
- For EVM users: MetaMask or WalletConnect will work, but users should be cautious about gas prices when initiating transactions.
Step 3 — Select Your Token
Once your wallet is connected, select the token you wish to lock. You’ll see a list of tokens available in your wallet. It’s crucial to double-check that you are locking the intended token to avoid any mistakes. A small error in selection can lead to significant issues down the line, so diligence is key.
Step 4 — Set Locking Parameters
You’ll have the option to set various parameters for your lock:
- Amount to Lock: Specify how many tokens you want to lock. Consider locking a substantial percentage to show commitment.
- Lock Duration: Choose how long you want the tokens to remain locked. Options typically range from a few days to several years, so pick a duration that aligns with your project’s roadmap.
- Unlock Date: This will be automatically calculated based on your chosen duration, providing clarity on when tokens become liquid again.
Step 5 — Confirm Your Transaction
After setting your parameters, review the details carefully. Once you are confident everything is accurate, confirm the transaction. Depending on the blockchain, transaction times may vary:
- Solana: Generally faster with low transaction fees, making it an attractive option for many.
- EVM: Transaction times can vary based on gas fees and network congestion, so it’s wise to check current rates before confirming transactions.
Step 6 — Monitor Your Lock
Once the transaction is confirmed, you can monitor the status on the Devflation dashboard. Transparency is vital, and being able to see locked tokens provides reassurance to you and your community. Regular updates can keep everyone informed and engaged, fostering a sense of shared purpose.
Practical Takeaway
The process of locking tokens is not just about securing assets; it’s about fostering trust. We’ve seen teams benefit from clear communication about their token lock status, which can add significant credibility to their projects. Regular updates on the status of locked tokens keep investors informed and engaged, reinforcing the project's transparency.
Understanding the Differences in UX for Solana and EVM
While the steps outlined above apply to both Solana and EVM networks, there are slight variations in user experience:
- Solana: It typically offers a more seamless connection with wallets and faster transaction confirmations. The interface is designed for swift navigation, catering to users who prioritize speed.
- EVM: Offers a broader range of tokens and often a more complex fee structure. Users might need to consider gas prices when locking tokens, making it essential to check current rates before confirming transactions.
Security and Transparency with Devflation
Devflation's approach to token locking emphasizes security and transparency. The platform provides on-chain proof of locked tokens, meaning that all locking transactions are verifiable via the blockchain. This enhances trust and ensures that team members cannot circumvent the locking mechanism. A commitment to transparency is not just a feature; it’s a necessity in building long-term relationships with investors.
Data Snapshot
No data chart is currently included. However, keep an eye on our dashboard for updates and insights on token locking trends. We plan to introduce analytics features to help teams understand the broader implications of their locking strategies.
Final Thoughts
The process of locking tokens is a crucial step for any project aiming to create a trustworthy and transparent relationship with its community. By using Devflation's user-friendly locking features and multi-chain support, teams can effectively manage their assets while showcasing their long-term commitment to project goals. Token locking isn’t just a technical requirement—it’s a strategic move to build investor confidence. To get started, visit our locking dashboard today. Embrace the power of token locking for a more secure crypto environment.